
Restoring a Cedar Chest - Part 1
>> 9.14.2015
I recently bought this cedar chest from a friend of mine. She had purchased it not too long ago with the intention of refinishing it, but she accidentally left it outside one night and it rained and did a real number on it.

You can see how the veneer on the top is warped on the edges, and based on the condition of the finish it looked beyond repair. I even let it sit in my garage for a couple of weeks and I painted something else on top of it because I honestly thought I was going to have to remove that veneer.

One day however, there was a break in the weather and it was bearable enough to be outside, so I got out the sander and started sanding. And guess what I found?


Look at that wood! It's veneer, yes, but does that look like something that needs to be replaced? nope. I only need to glue down two of the sides and the top will be in great shape!
And while we're talking about great shape, look what a little sanding (okay, a LOT of sanding) did for the front of the chest!


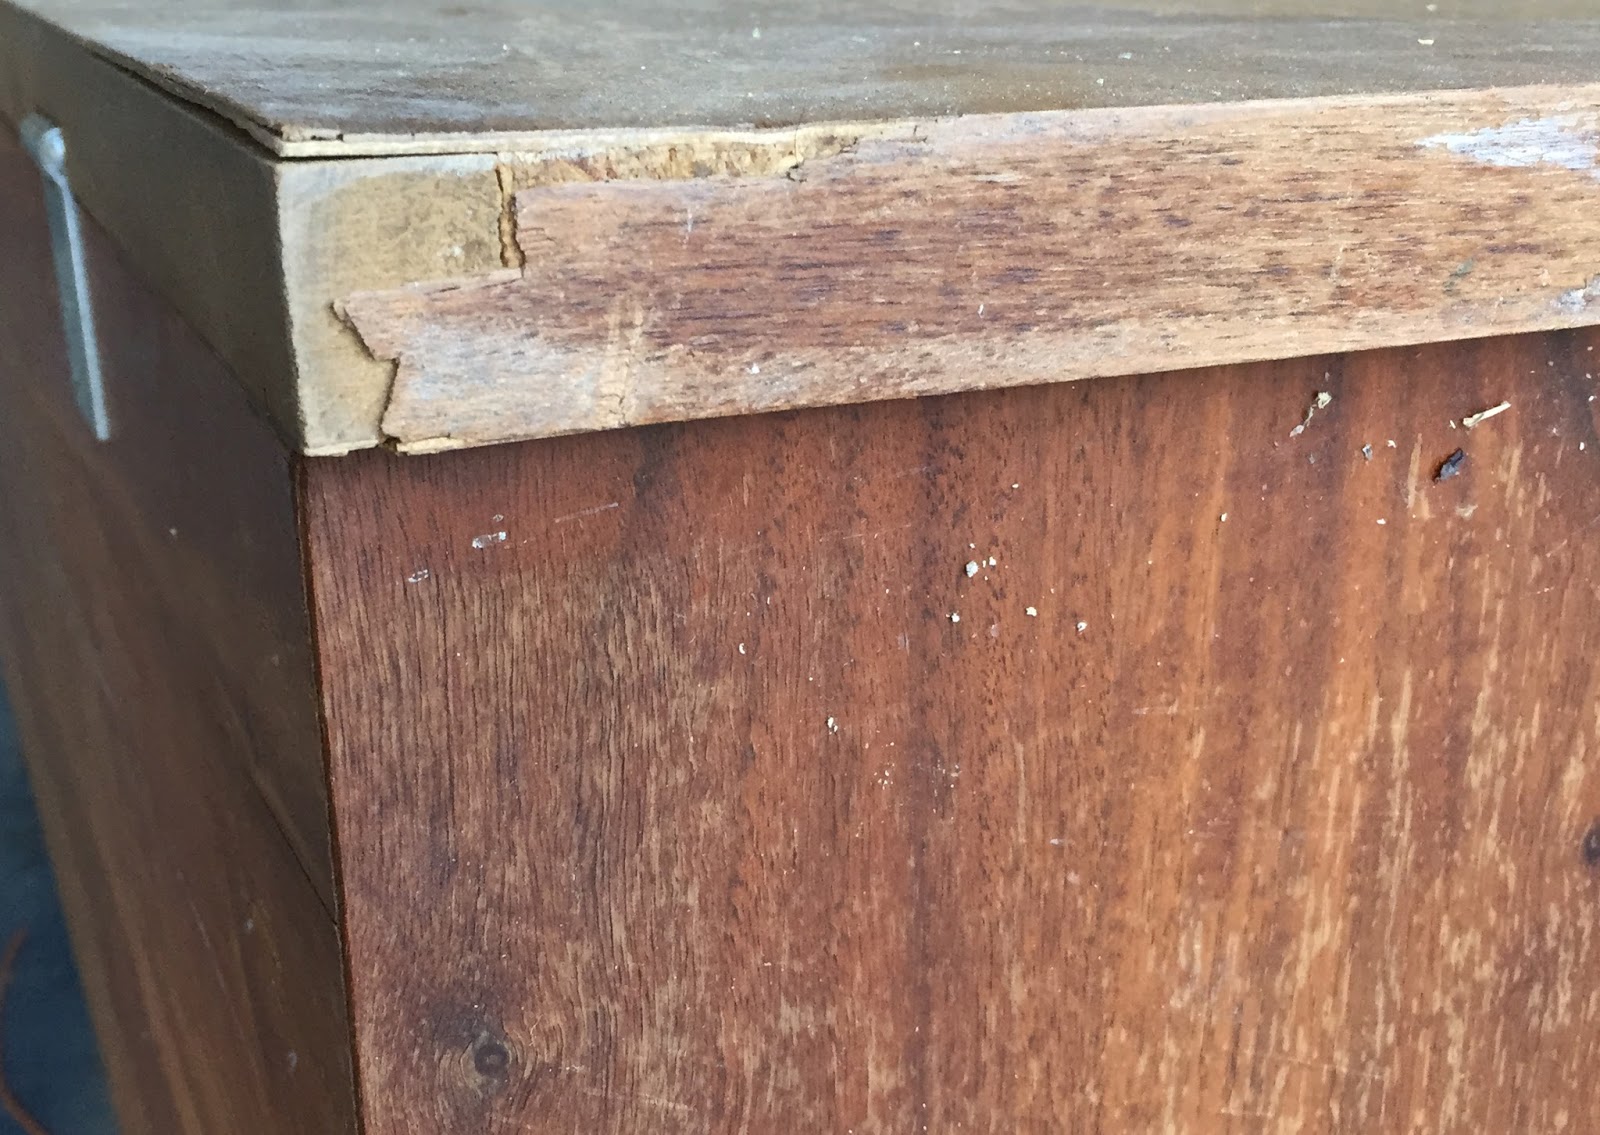
So step one of this restoration is done. Now that I've got it stripped down to its natural wood, my next step is to repair the top and replace the veneer banding on the sides of the top. As you can see, it's in a bad way.


The replacement veneer is being shipped, and once it comes in I will get to working on it and should have an update later this week. Stay tuned!
If you liked this post, check out my "Ground Zero" post about preparing a piece of furniture for refinishing/painting.


1 comments:
Wow, it's going to look awesome! What an exciting discovery! can't wait to see how it all turns out.
Post a Comment