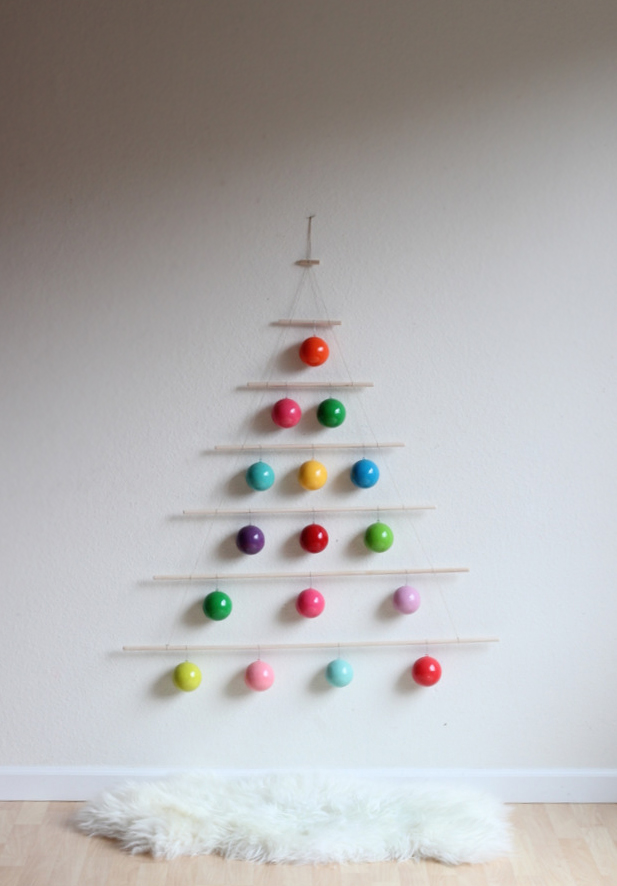
Twelve Days of DIY Christmas - Day 8 Christmas Card Display
>> 12.08.2014
It's that time of year, when the US Postal Service rises from its half-buried grave to deliver those long awaited family pictures, Christmas cards and holiday greetings to our door.
It seems that there are social circles where Christmas card giving is still alive and well, but in others it has become a dying tradition. I think we lie somewhere in the middle, but I so wish that my mailbox was crammed full of holiday greetings. And so like a rain dance of sorts, I have created a cute way to display the amazing cards you are all going to send me.
I wish that I had come up with the bones of my idea all on my own, but alas, I have to give credit to Jenny at Hank and Hunt who created this awesome modern Christmas tree.
I loved the simple lines of it, and thought it would look great as a Christmas Card display, but I wanted to add my own special touch to it.
The supplies I used for this were:
three 3/8 x 48" wooden dowels
twine
hacksaw
sandpaper
scissors
super glue
12 1/4" copper couplings (found in plumbing section of Home Depot)
1/2" copper elbow
First I measured and cut my dowels.
You will need these cuts: 6", 12", 18", 24", 30", 36"
The first dowel mark and cut 36" and 12"
2nd dowel, 30" and 18"
3rd dowel, 24", and 6"
(You will have about 18" leftover.)
Next, I sanded down the ends. I wanted to add the couplings to each end, but they are just slightly smaller than the dowel, so I sanded down each side of the dowel until the coupling could slide on tightly. Once sanded down, I added the couplings.
Next I laid out the dowels largest to smallest in the shape of a tree. I then measured out eight inches between each dowel and marked the floor (we were outside and didn't care about pencil marks on our porch) so to keep my measurements in check. If you want the tree to be smaller, try six inches between each rung.
Next, starting at the bottom dowel about four inches from the end, I took the twine and tied a double knot, and then moved up to the next dowel and tied an open knot. The open knot will allow you to make adjustments to the position of the dowels so everything is straight. Repeat this pattern all the way to the last dowel.
Then once you've reached the top, thread the twine into the copper elbow and give 6-8" between it and the last rung. It will act as the top of the tree. Then, going down the other side of the tree, repeat the ties, making sure your measurements are the same. This part is tricky, because you are doing open knots, and things tend to wiggle loose.
The most important measurements are between the bottom ties and the copper elbow at the top of the tree. If those are equal to each other, then you can measure the middle dowels easier. and your tree won't be all wonky. So when I did this, it was dusk, outside in the cold, and I was eyeing it most of the time. In hindsight, I should have waited and been a little more patient, but I was so excited to finish the project and I didn't want to wait. A classic flaw of a DIY-er.
Once you have all the dowels in place the way you want them, super glue the twine to the dowel. Once it is dry, turn it over, and there you have it. Keep the tied, super glued side to the back when hanging.


0 comments:
Post a Comment