Book Hoarder
>> 3.25.2014
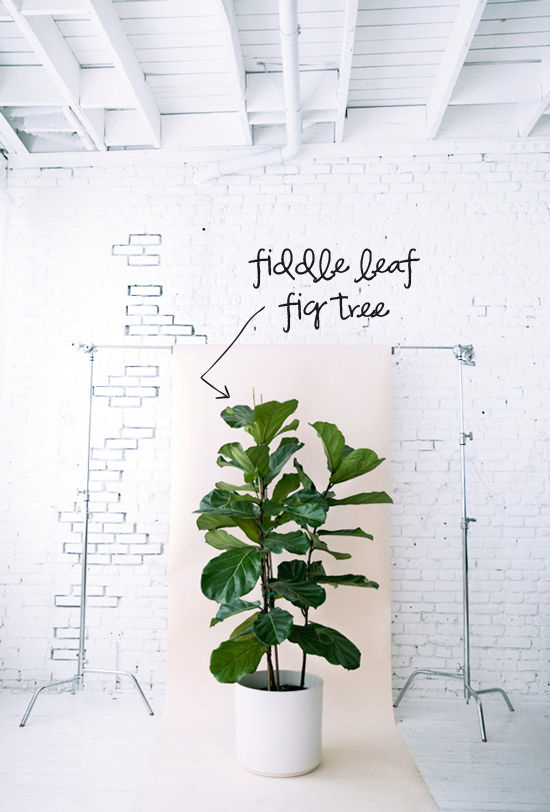
See this wall?

One day it's going to be covered floor to ceiling with white built-in bookshelves. We're saving up the money for some improvements in the house, including this one, but until then, I've taken it upon myself to collect books to fill those dream shelves.

Finding interesting books is not as easy as you might think. And so I have kept a mental note to check every place I go for books with colorful or interesting spines, books with quirky titles, or maybe even books that we might actually have an interest in reading one day.
Here are some places that I have found books:
Parent's/Grandparent's House - If your mom is like my mom, she has a TON of books that she has amassed over the years, and many of them she let me have. Especially those obscure 1980's parenting books and other dated books she will never read.
Facebook - If you are looking to fill your bookcases, just ask your friends. Lots of times people are wanting to get rid of old books but would rather them go to a friend instead of donating. I inherited about 20 old reader digest hard bound books that way.
Thrift Stores - Obviously this is a great way to get books, just beware that many thrift stores like to charge way too much. If you have to pay more than $1 for a book, I say it's not worth it, unless that book is really something special.
Garage/Estate Sales - These kinds of sales are tough, because you never know what you're going to get until you walk up the driveway and start looking, but sometimes you hit the jackpot.
Honestly, the only way I will ever read most of the books I'm collecting is if the zombie apocalypse comes and we are stuck in our house for ages with nothing to do, but even though most of the books won't be read, they will still help create an interesting space, and more importantly they will be given a second life.


.JPG)


.JPG)


.JPG)
.JPG)


.JPG)